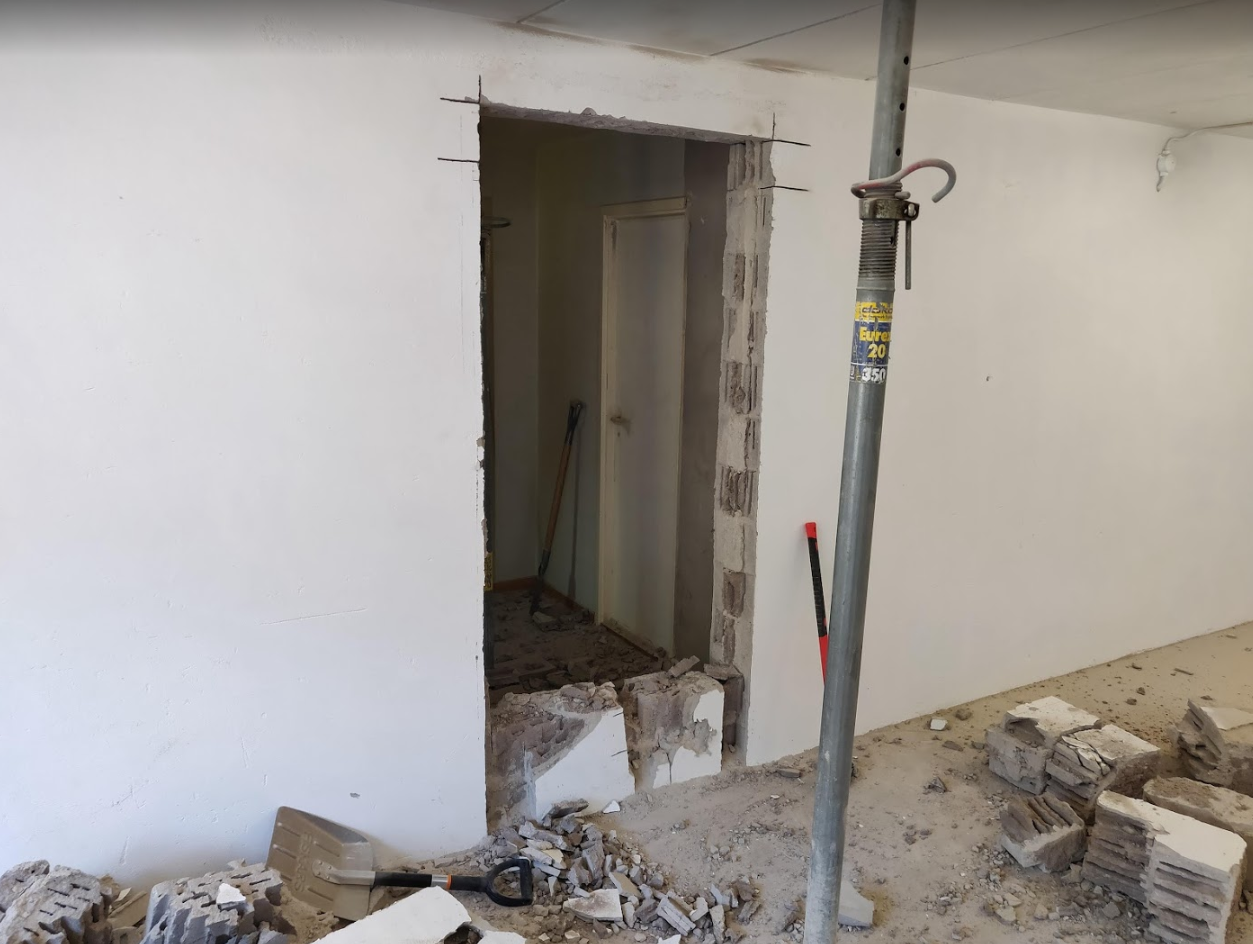
Next up, a serious beam construction in the hole to keep the structure.
After the very time consuming door hole was done it was time to make the reinforcement to replace the bit of the wall now missing.
My friend Bosse was involved in the beam project from day one.
He helped me buy the beam, cut it to length and weld on “feet” brackets with holes in stainless to mount them to the floor.
The actual job to mount the beams was a quick and straightforward job.
Rise the vertical beams, drill the floor and mount them.
Measure the width at the bottom and cut the top beam same length.
Join all the three and weld them together.
Done
After that i had to fine adjust the squareness a tiny bit with spacers.
And after that i mixed some cement, took a Piping bag from my wifes baking stuff.
Filled it with cement and squeezed it in to all areas between the wall and the beam. It definitely now feels like the garage project got a new beginning this weekend.
Next up flooring in all three rooms and then move all stuff from Speedshop MkI to MkII.

Bosse doing his stick weld magic

And the other side